Table Lamp Redo
(this post contains affiliate links)
I love upcycling old items and thrift store finds.
There's just something so satisfying about it.
And helping the planet is a bonus!
Pin for later
So this plaster table lamp..
I found it at Goodwill for $10. The wiring was in good condition and everything works.
But..
it's a little dated and definitely not my style
So here's what I did --
First I scraped off the 4 rows of raised 'stripes' with a sharp blade (which was easy to do since they are just plaster)
Then I gave it a quick, light sand with rough grit sandpaper. (I didn't worry about the other ridges on it because I would be covering those up.)
Now here’s where the fun begins!
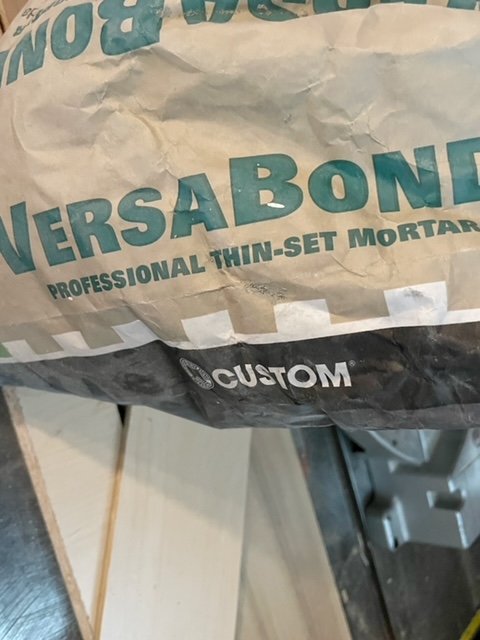
Thin-set mortar (for setting tile) is my go-to for transforming stuff! I love it because sticks really well to all kinds of things, it doesn’t crack and it’s really easy to work with. (Here is a ceramic bunny I made to look like stone with thin-set)
So I mixed up a batch for my table lamp redo.
I used the dry powder because that’s what we had on hand from installing our tile.
I used an old kitchen whisk to get the clumps out of the powder
so it wouldn’t have any lumps once I mixed it up.
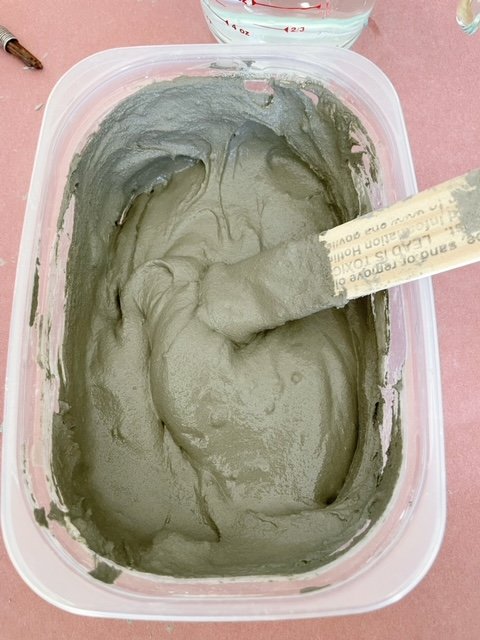
Then I mixed it with water to make about 2 cups of thin-set that was about the consistency of frosting.
(After you mix your thin-set, you need to let it sit for about 5 minutes and then mix it again to activate the polymers before you use it. Be sure to read the label directions.)
Then I used a 2-inch chip brush to just brush it onto the lamp base.
I applied a fairly heavy first coat. And I let that dry. I put a fan on it to speed up the process. It dried in about 2 hours.
When it was dry, I knocked down some of the nubs with a piece of sandpaper.
I wasn’t too worried about the finish on the first coat since I would be covering it with a second coat.
Then I mixed up some more thin-set and applied a second coat, making sure I was covering up all the feather carvings.
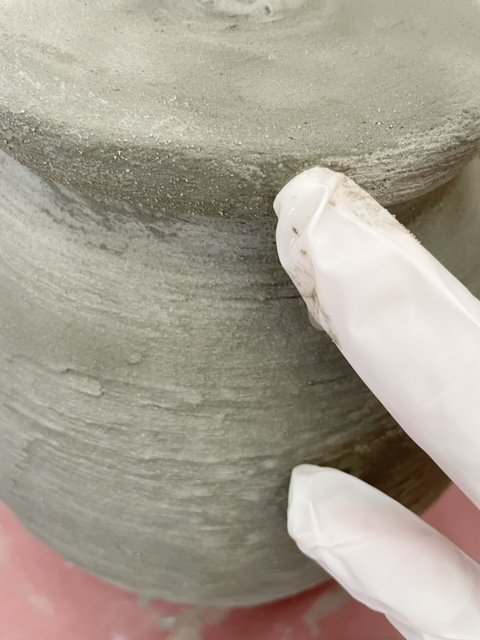
For this coat, I made sure that the brush strokes were visible so that they would leave a finished texture.
As the thin-set was drying, I smoothed it out with my finger.
(If you wear gloves when working with this product, it will keep your hands from getting dried out.)
Next, I let the lamp dry overnight.
Now, it’s time to paint!
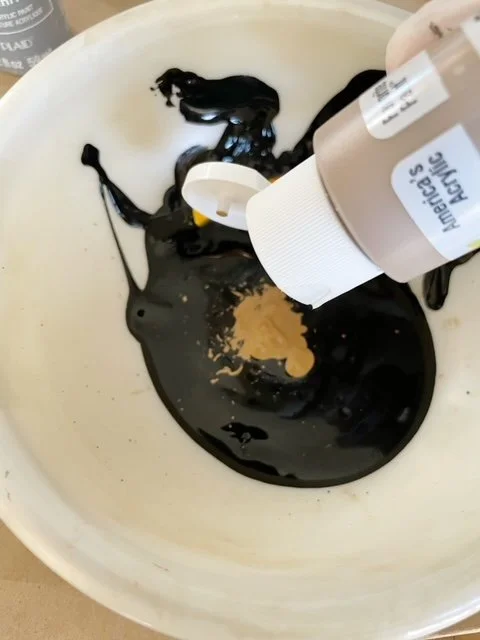
I just used craft paint in black, and two beiges: honeycomb and territorial beige.
I wanted my lamp base to be a warm charcoal color so I mixed the two beiges into some of the black paint
I painted the whole lamp with this first color, leaving very small amounts of the light gray thin-set showing through in some areas
Then I added more honeycomb beige to the first color mix to make a lighter version
and then I dry-brushed it on over the first coat.
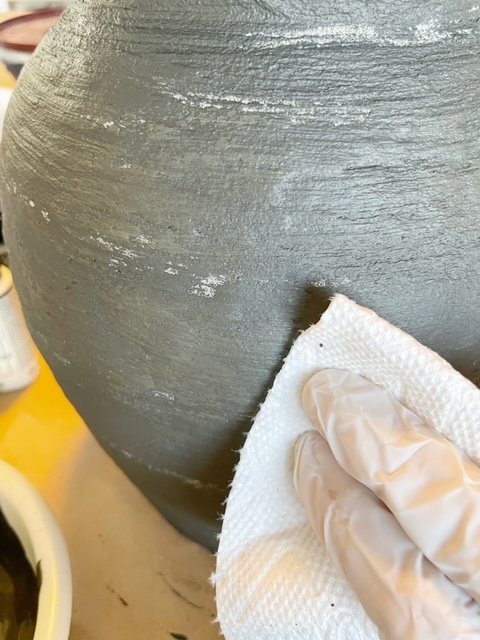
I brushed it on and rubbed it in here and there with a paper towel. I covered some of the light gray thin-set with this lighter color too.
And that was it!
And now..
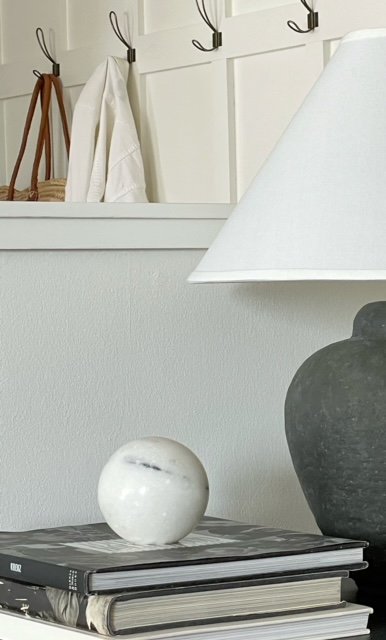
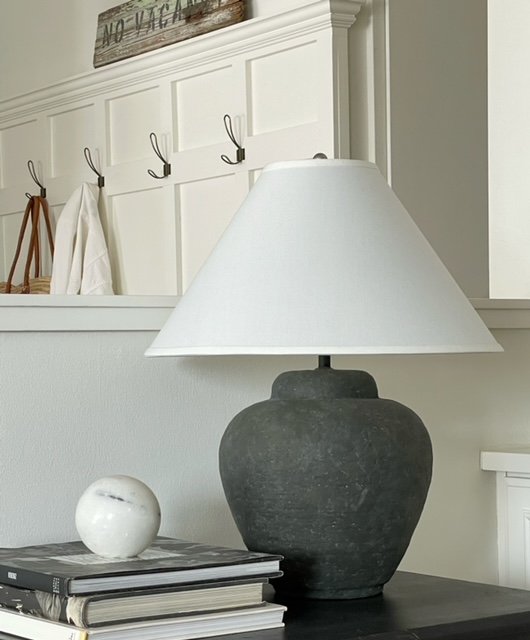
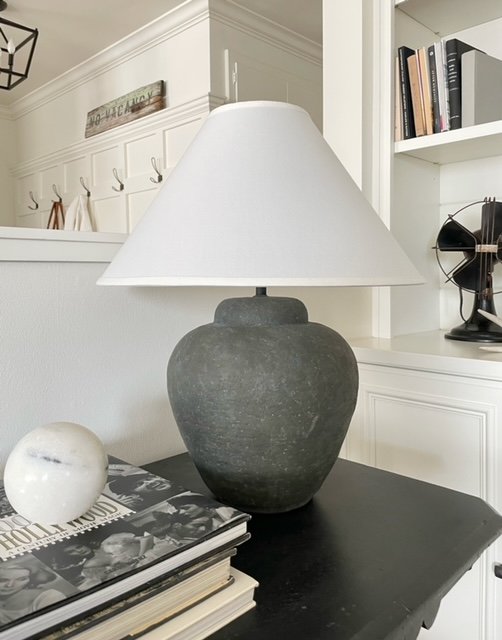
Here is the new and improved table lamp!
Pin for later
I love the way this turned out!
We went from an ugly, outdated lamp
to this upcycled, updated beauty!
Pin for later
So if you happen to have an old lamp hanging around your house,
or if you find one at a yard sale or thrift store,
try giving it a makeover…
Pin for later
you might just be amazed!
PS Thin-set sticks to glass, metal and wood too!
See how to have a timeless, classic home HERE
GET THE LOOK
(These are affiliate links which means I make a small commission if you purchase through a link. This doesn’t affect the cost to you, but it does help me to continue to create more content for you to enjoy. I appreciate your support!)
Lord, how majestic is your name in all the earth! Ps. 8:9

